Monday, August 8, 2011

Multi Grain Sandwiches

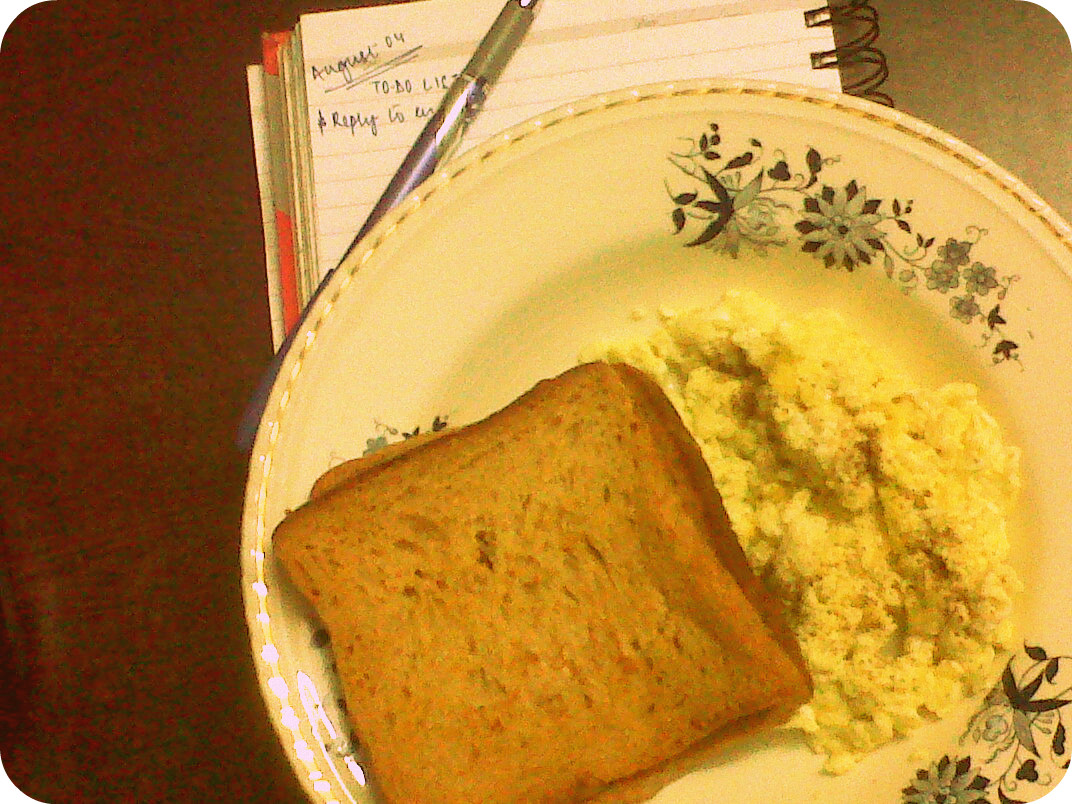
I really tried to make this look pretty but the ketchup on the plate looks like some weird alien thing. I am sorry. But, I promise the sandwiches taste really good. Try them for breakfast or as an evening snack! You won't be disappointed.

Before I start with the recipe, here's some good news - I am going to visit my parents tomorrow. Yay! And then on 13th or 14th August, we head off to Leh, if the weather permits. Since I get sick pretty quick, I really hope I am able to enjoy the trip. I guess it might be fun, even with the lack of proper bathrooms and sleeping in tents.

For now, let's just focus on the sandwiches and please ignore the ugly blob of ketchup. I know I need to learn a lot of things when it comes to decorating my food nicely. kthxbai.


God. It really does look bad. Ignore mode, ignore, ignore.

Multi Grain Sandwiches - makes one


Original source: Meals on the Run with Sunita on FoodFirst. Channel 462 on DishTV. Wasabi and salami are my own additions. You can use cabbage, apples and beets too.


1/2 cucumber, finely grated
1/2 carrot, finely grated
4 tbsp low fat cheese spread
2 slices chicken salami or any other that you prefer
1 tbsp Wasabi paste (optional)
3 slices multi grain bread
1/2 tsp salt
1/2 tsp pepper

Grate the cucumbers after removing the seeds and squeeze off excess water from the carrot and cucumber by pressing them in your hand. Now, use this water as a face mask. See? Beauty benefits with healthy eating!

Mix the grated carrot, cucumber, and cheese spread with salt and pepper till it forms a thick mixture. In the meantime, lightly toast the multi grain bread. I use a frying pan for doing this since it is easier and prevents the grains in the bread from burning, which is common if using a toaster.

Place the salami on the bread and top this with a thick layer of the cheese mixture. Cover with the second slice of bread. Spread Wasabi paste on top of the second slice and a layer of the cheese mixture again. Serve warm or cold. 

Friday, August 5, 2011

Brown Rice Uthapam

I don't usually order uthapam when eating out in my favorite South Indian restaurant, am more of a dosa girl but  dosa isn't a good idea for breakfast (especially since I know I won't be able to get it right the first time). So, uthapam seemed a prudent choice - how wrong was I! Uthapam takes sooooooo long to cook. I hadn't anticipated such a long cooking time and ended up ruining the first few. Thankfully, I managed to get it right at the end.

Warning: The overall cooking process, right from the soaking to fermenting, takes more than 24 hours. Plan your time well or just use one of those ready made mixtures.


Brown Rice Uthapam - makes 6

1/4 cup brown rice
1/4 cup dhuli urad dal
1/4 cup rice flakes (poha/chidwa)
1 tsp salt
1 onion, chopped
1 tomato, chopped
2 green chillies, chopped
Salt and pepper to taste

Soak brown rice with urad dal for 6-8 hours in 3 cups water. Pulse the mixture, along with the rice flakes, till completely smooth in a blender. You need to leave this mixture to ferment for 12 hours. A hot and humid climate is great for this, otherwise just place it in the warmest part of your house. Make sure you use a very large bowl because it will triple in volume. Remember to cover the bowl with plastic wrap.

After the mixture has fermented, remove the plastic wrap and whisk it till slightly thick. In the meantime, chop the onions, tomatoes, and green chillies.

Now, I used olive oil to cook these but you could use regular vegetable oil. If you are using a non stick pan, you'll need only 1-2 tsp oil. Using a ladle, spoon the mixture over hot oil. A medium flame would be great to avoid over cooking or burning. It will take 5-7 minutes for the uthapam to get cooked. Once you've let it cook for a minute or so, add the tomatoes and onions. Let it cook for another 5 minutes and flip over once the sides look cooked. Cook the other side for 5 minutes as well.

Serve hot with coconut chutney or ketchup.

Thursday, August 4, 2011

Super Easy Scrambled Eggs

Day Two! Scrambled eggs are VERY easy to make - you only need 3 things. They're healthy, tasty, and really good for you.

Scrambled eggs are quite versatile too. You can add vegetables, herbs, and whatever spices you want. They're made just like a bhurji but without the extra oil and the long cooking time.


Scrambled Eggs - serves one


2 medium sized eggs
2 tbsp low fat milk
1 tsp extra virgin olive oil
Salt and pepper to taste

Whisk the eggs and milk in a bowl. Add the olive oil to a frying pan and heat on high for less than a minute. Extra virgin olive oil has a very low smoking point so you don't want to get the oil too hot. Add the eggs and stir for 30 seconds or so. At this point, you can add herbs like chives and oregano.

If you want to add vegetables, saute them in oil before you add the eggs.

Do not over cook the eggs otherwise you'll end up with a rubbery texture. Serve hot with multigrain bread (which I didn't get at my local store today so I had to make do with regular bread).

Tomorrow, its uthapam day!

Wednesday, August 3, 2011

Moong Dal Chila

Day One of my Healthy Breakfast Week! I made moong dal chilas today - they are packed with proteins and other essential nutrients helping you feel full till lunch time so you don't resort to unhealthy snacking.

I wish I could have taken a better picture though but for now, this will have to do. A chila looks and cooks like a pancake but is thin like a crepe. Because am a novice in the kitchen, I can't make crepe thin chilas but you could try!


Moong Dal Chila - makes four 

1/2 cup moong dal (soaked overnight in 1 cup water)
1/4 cup besan (black gram flour)
5 tbsp yogurt
1 small onion
2 green chillies
1 tsp salt
1/4 cup water

In a blender, add all the ingredients and blend till smooth. Add more water if the mixture is too thick.

Brush a non stick pan with 1 tsp oil and heat on a high flame. Once the oil is hot, reduce the heat to medium and pour a ladle full batter. Spread it out either by using the bottom of the ladle or by tilting the pan. Flip over when bubbles appear on top.

Serve hot with tomato ketchup or mint chutney.

NOTES:

* I strongly suggest using a non stick pan as it requires very little oil to cook the chilas. Use a pastry brush to spread oil evenly.

* While blending the mixture, you can also add oatmeal or flax seeds. 

Tuesday, August 2, 2011

Breakfast Marathon

When it comes to breakfast, thinking of a new recipe every day can be challenging. Since I am nowhere close to my weight loss goals, I have no option but to torture you with healthy recipes. NO MORE CAKES till I reach my goal weight (still nine kilos to go!).

If you think about it, paranthas are healthy in a way - just skip the butter and oil. People who know me know that I cannot leave butter but I have managed to reduce my butter consumption by at least 75%.

I tried exercising too - 30 minute to hour long walks with a bit of running but I had to give it up 'cos of a terrible muscle spasm. These days, its just too humid to even think of stepping outside so the only option is to lose weight by eating healthy and doing some kind of indoor exercises. Its time to find my jumping rope.

Here's what I am going to do this week - every day, I will share a breakfast recipe that is healthy and packed full with nutrition so you have something interesting to eat besides cereal and oatmeal. Sounds good right? These are the seven recipes that I will be sharing:
  • Moong Dal Chila
  • Onion Uthapam - made with brown rice
  • Scrambled Eggs
  • Carrot Theplas
  • Low Fat Upma
  • Low Fat Poha
  • Multi Grain Sandwiches
Meanwhile, make some of these amazing breakfast idlis or try my version of vermicelli.